PUSopen® Evaluation
Note
Information in this section is only applicable to the PUSopen® Evaluation Version.
Please request download link for the PUSopen® Evaluation Version on our website: pusopen.com.
For more information about PUSopen® product, licensing (EULA), sales, and support, visit: pusopen.com or contact us at: contact@pusopen.com.
Overview
PUSopen® Evaluation Version lets you try the core PUSopen® functionality and see the complete APIs in the supplied documentation and header files.
Supplied examples will give you a springboard. Adapt the code of the examples to start prototyping your space application.
Evaluation Tutorial
Step 1: Download Evaluation Pack
Once you get your PUSopen® Evaluation download link via email, click it - the download shall start in your browser immediately. The PUSopen® Evaluation Version is distributed as a single ZIP file.
Unzip downloaded ZIP into any folder:
$ unzip pusopen-1.3.14-evaluation.zip -d pusopen_evaluation
The Evaluation Pack contains the following files and folders:
/examples - Example code for the PUSopen® services
/h - PUSopen® library header files
/lib - Pre-built PUSopen® library for Windows and Linux
LICENSE - License information
README.md - Overview and Getting Stated information
setenv.bat - Script for setting environment variables under Windows
setenv.sh - Script for setting environment variables under Linux
Step 2: Prepare Environment
The only prerequisite for running PUSopen® Evaluation examples is the GCC C compiler correctly set in the PATH environment variable.
Open the supplied “setenv” script (setenv.bat under Windows, and setenv.sh under Linux) in a text editor and set the following variables:
PUSOPEN_INSTALL_ROOT - installation directory where you have copied and unzipped the PUSopen® Evaluation pack.
Note: On Windows use forward-slash “/” in the installation path.
The rest of the variables (AR, CC, OBJDUMP, MKDIR, …) shall be fine for most GCC setups on Windows and Linux.
Save your changes to the “setenv” script file and run it:
Under Linux, open command line and run:
$ source setenv.sh
Under Windows, open command line and run:
$ setenv.bat
Step 3: Build examples
Navigate to the /examples folder of the PUSopen® installation:
$ cd examples
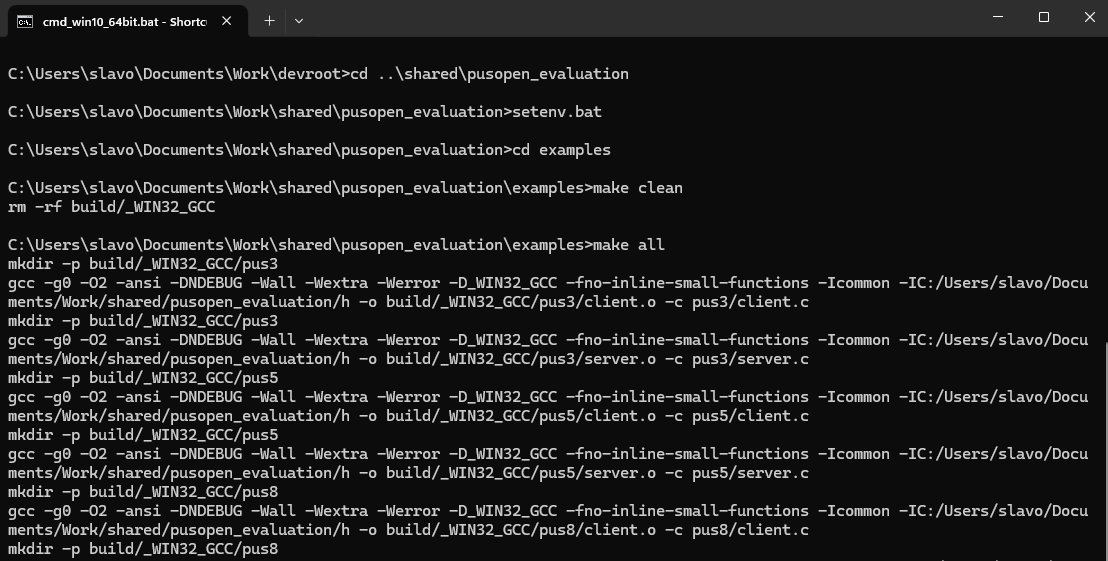
Build examples:
$ make clean
$ make all

Fig. 15 Build sequence of the PUSopen® evaluation examples
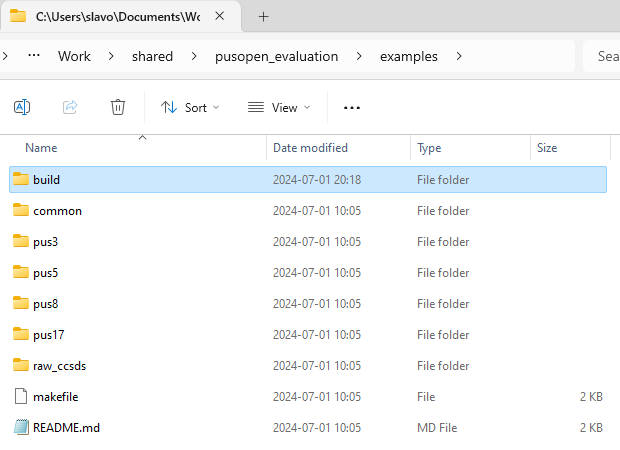
After the build, you can find executable files in the “examples/build” directory.

Fig. 16 Build sequence of the PUSopen® evaluation examples
Step 4: Run PUS 17 (test) example
PUS service 17 serves as are-you-alive test (i.e., ping). The example of PUS 17 in the PUSopen® is split into server and client part. The server sends TC[17,1] (are-you-alive) request to the client. The client automatically responds with TM[17,2] back to the server.
See video tutorial of PUS 17 on our YouTube Chanel: YouTube PUS17 Tutorial | PUSopen.
Open two command line terminals. Go to the “examples” folder. In the first terminal run (on Windows):
$ build\_WIN32_GCC\pus17\server.exe
In the second terminal run (on Windows):
$ build\_WIN32_GCC\pus17\client.exe
Under Linux exchange the “_WIN32_GCC” in the commands above for the “_LINUX_GCC”.
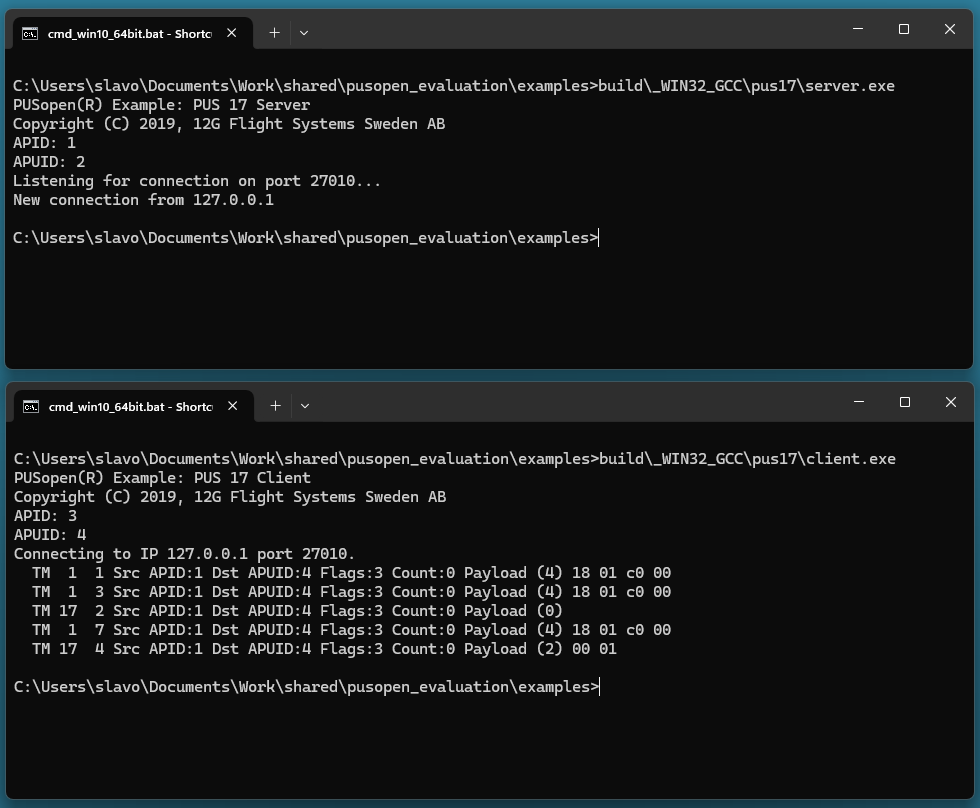
The result of the execution shall look like this:

Fig. 17 PUSopen® ECSS PUS 17 example
Congratulation! You have successfully sent TM/TC. Start prototyping your space application code from here.